My 15 µseconds of fame: "Block Stacking Game" was featured on the Instructables homepage back in 2015.
from the instructable:
Years ago I came across this wooden rock stacking game at a Starbucks (of all places). The game was in their store for one christmas season and never again. The block stacking was fun, relaxing and a little bit educational (because, physics!). The problem is you need a lot of these wooden rocks to make more interesting stuff like arches. Solution: make your own!
My wife asked me to make her some Netflix socks. I did make one but the IR part never quite worked right because our TiVo is located up too high and, invariably, Kathleen would fall asleep with the IR blaster tucked under the covers. But, eh... it was a silly project and I love silly projects.
While building the socks I constructed an IR capture and playback tool to help me program the blasters (I archived the random firmware I wrote on GitHub for what it's worth). The thing is built around an ATTiny84 clocked at 20Mhz to keep up with the IR bitrate. The device had three modes:
1. Detect - Simply blink when any structured IR signals were detected.
2. Capture - Record an IR signal.
3. Replay - Emit a captured IR signal.
While I never got the replay to work quite right I am proud of the h4x0r aesthetic the hand-built device ended up with.
I needed a way to accurately measure current draw over time for devices drawing a few or tens of milliamps. Rather than buy expensive test gear I just threw together three parts from SparkFun:
...a little math and presto! I have a tiny little Coulomb counter that shows current draw and direction and can sit right on a breadboard.
(is that hot glue? Yes, yes it is. Don't judge and don't ask what's holding the OLED screen to the PCB)
53 was gracious enough to let me use their Stratasys PolyJet machine to prototype a connector idea I had a few years ago. The concept was to design a connector for use in active wear (think snowboarding, hiking, cycling, etc) to enable wearable electronics designed for sport. I wanted a connector for distributing power to various wearables because I was frustrated with the proliferation of batteries I was carrying around all needing to be independently charged. Body Bus would distribute electricity throughout an outfit allowing devices to share power and batteries. The connector I prototyped is genderless and self-mating through the use of rare-earth magnets. Once the two flat screws are pulled into each other the knuckles of the threads lock in and mechanically hold the connector together until they are twisted apart. The intent was to automatically establish electrical connections between different articles of clothing like socks and boots, boots and pants, pants and jackets, etc just by putting them on even if there was some dirt, water, or snow caught up in the connection.
Sadly, this concept never left the mechanical design exploration you see here. The electrical details are therefore vague. One concept was to simply use these connectors with inductive power transfer to allow them to be completely sealed. Another thought was to enable USB and USB-on-the-go connections through pads and spring loaded knobs inside each of the four mating threads (this would make each connection quadruple redundant).
Another part of this project that was fun was playing with onshape. I actually did most of the 3d-modelling while on the bus to work using my iPad. Onshape is very much the future we were promised (sans-jetpacks). I highly recommend this tool for anyone wanting to design 3D parts.
One final note on size: the larger part you see in the video and some of the photos was actually an up-sized version to account for the limited accuracy of 3d printed plastic parts. The intended size of a real connector is shown in one photo with a µSD card for reference. Turned out that the Stratasys printer did the 1:1 part just fine and that prototype works just as well as the 2:1 version. This experiance made me a huge fan of PolyJet printing.
This site isn't my resume but I wanted to give a nod to a former workplace of mine, FiftyThree. The short time I spent there (working on the SDK for their Pencil stylus for iPad and iPhone) taught me what I wanted to be when I grow up. Namely, I want to make physical things; things you can touch and feel, things that exist in space, things that interact with our world in new and interesting ways. Since 53 I am no longer satisfied with abstract software routines living in amorphous clouds or simply painting pixels on a screen. I'm hooked on the immediate thrill of blinking lights and spinning motors and the simple elegance of a serial interface clocking bits in and out.
Being the digital creature I am by day I wanted to play around with something purely analog at night. Some Googling surfaced a fun toy, the "Hello World" of analog synthesizer projects; The Atari Punk Console. Quickly breadboarding this little gem I decided to see how portable I could make the actual build. As such I give you the Minty Punk Console.
(See this blog post for full details on this build)
A Halloween decoration I built in 2015 that runs for a week off of a single 2032 battery. The idea is to put a bunch of these into your empty bird feeders, bird houses, and other places vacated by birds in the fall. When the sun goes down they all start a sinusoidal PWM "glow" of the two LEDs with a random (sorta) wait to keep them from getting in sync. The effect is meant to invoke a yard inhabited by demon "birds of the damned" ready to swarm down and devour the unsuspecting trick-or-treater.
One of these years I'm going to do a run of PCBs with OSH Park to get a large flock of these in the yard. I'll post the eagle CAD files and a video when I do.
I'm also particularly proud of my Lego pogo programming rig. That's right, the BoD board fits into that Lego contraption you see in the pictures and the pogos hit all six pins needed for the AVR SPI programming protocol. I used a Lego window, drilled holes in it to take the pogos, and fixed them in-place with epoxy. The window even lets you see that the pins are making the correct contacts. What can't you do with Lego, I ask?
Here are some details:
MCU – ATTiny13
firmware – Github
photo sensor – Maxim 44009
substrate – Surfboard
The Noer (As in "the thing that says No" or the "No! er") was an interesting aborted project. I wanted to build a simple TOF sensor setup that would play a small audio sample when triggered. The idea was to keep the dog out of things ("No Clementine!"). I breadboarded this quickly enough using SparkFun's Audio-Sound breakout and an ST Micro VL6180X proximity sensor. For the next revision I wanted to build an extremely low-power device allowing it to operate for weeks on a single LiPo battery. I also wanted a proximity sensor with a range of 1-meter or more. I found a great sensor in the ST Micro VL53L0X but I had a lot of trouble finding the right audio chip solution. I found some random Chinese part (which I call out because of the almost unintelligible English translation of the datasheet) on Digikey that claimed it could be programmed over SPI. I liked the idea of using a Teensy 3.6 to program the Noer once allowing the device to operate without an SD-card. Despite some successful interactions with the audio IC I ultimately had to give up. The datasheet was just too sparse to program it myself and the Windows XP program they provided to do mass programming was only available if you bought a few thousand of the chips. I may revisit this project again if I come across the right audio IC.
My son's Boy Scout troop finishes every year with a group rocket launching party. I wanted to build a rocket launcher with a little more flair than the boring ones Estes sells. This project is designed to look way more impressive than it actually is. For all the switches, wires, blinking lights, and proto-perf all this really does is control a mechanical relay with an ATTiny. What really sells it though is the big "missile launch" switch from SparkFun. The red cover, arming LED, and solid "clunk" when activated all screams "we're about to launch a rocket!"
One little twist I added for fun was a Tamura hall effect current sensor. Once the ignition signal is sent the ATTiny's ADC monitors the current sensor to diagnose misfires. If no current flowed to the e-match the display sequence finishes with 'L' indicating an electrical problem. If adequate current to light the e-match was detected the display sequence ends with '0' (okay). If you see '0' and the rocket didn't ignite then you have a dud.
You can take a look at the Arduino sketch for the ATTiny on GitHub.
This was a little toy I built as a gift for a white elephant party in 2016. I mounted a VL6180X sensor (Using one of ST Micro's great little eval kits), a Teensy 3.2, and a WS2812B RGB LED onto a solder-able breadboard. Using Platform IO I threw together a little firmware that dimmed the LED based on how far a hand was to the sensor and would turn the LED on/off if a hand was swiped over the sensor quickly. It's pretty useless but that's the point of a white elephant gift, no?
Get the firmware on Github...
For this years (2017) Boy Scout pinewood derby I asked my son to design the car himself. The deal was that, if he did enough of the work by his own initiative I'd add working headlights to his car.
He did his part and more (cool car Huck!) so I thought I should step up my game and add more than just headlights. I had a SparkFun "Shake on Wake" board sitting around and I realized it had an ATTiny MCU on it with a proper ISP header. Looking at SparkFun's firmware on GitHub I decided to repurpose the ATTiny's PWM to run the lights and to add a cool tail light feature where the "brake lights" would dim while in motion and would get bright when stopped, just like a real car. I whipped up a quick state-machine using Yakindu and routed out enough space in the car's belly for the SparkFun PCB. 3-ounces of hot glue and tungsten slugs later and we had what you see here.
You can check out the firmware on GitHub. Note that I didn't have access to a pinewood derby track while building this so I couldn't calibrate proper motion detection for the taillights. Instead I just have them dim for any motion. As long as the track is slightly bumpy this works fine.
This is an ongoing project to design and build a little robot toy from scratch. I started by building a chassis out of lego and attaching two Pololu micro-motors with hall-effect encoders. I tested the chassis by assembling a hand built motor control board using Blynk over wifi to manually control it.
I'm currently teaching myself PCB design using Eagle CAD and working my way through a properly designed power board. The PCBs you see here are evaluations of various switching power supplies and charge management ICs.
The next time you only need a single PCB and the minimum order is 3 or more try this trick. Design the board to be slightly larger than credit card size and use the extra boards to make yourself a cool wallet.
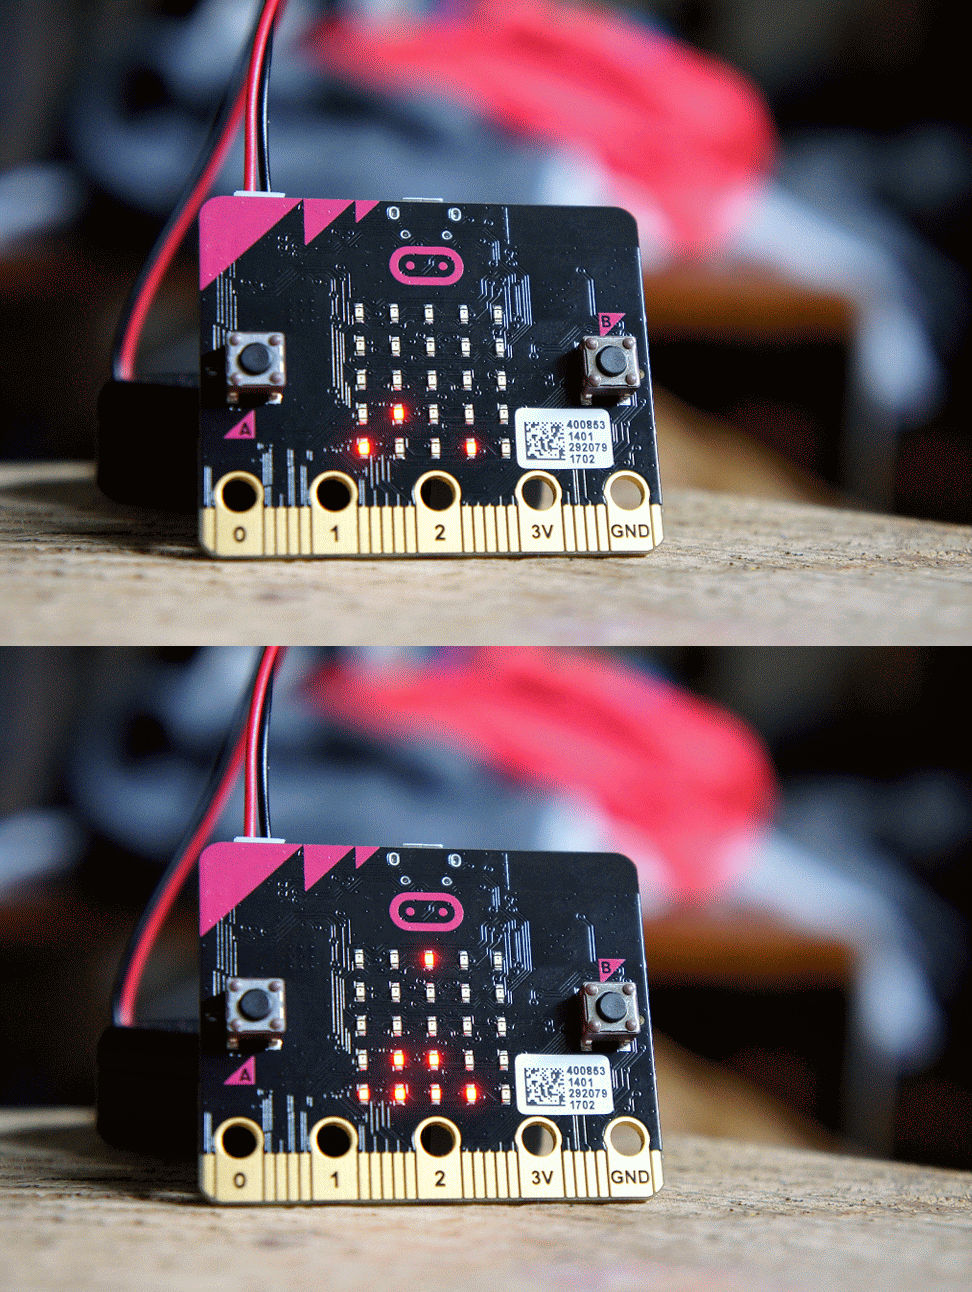
If I'm going to ask my kids to learn to code using Google Blockly then I should learn how to use it first, right? So I bought a BBC Micro:bit and gave myself a challenge: code connect-4 in Blockly. I immediately realized that coding an AI player in blockly was going to be too complex for this language and the online editor for Micro:bit so I chose to make this a 2-player game where the microbit would be passed between two people (making this work between two Micro:bits should be possible in Blockly but I haven't looked into it). I worked around the limitation of the Micro:bit having only 1-colour LEDs by using solid and blinking as the two types of pieces. Finally, I realized the game was more fun as "connect-3" given the 5x4 playing area.
As such, I give you connect-3 in JavaScript Blocks (see embedded editor on this page).
One hack I did employ was to write a single function in Javascript used as part of the solution detection algorithm. If BBC/Microsoft add in Blockly functions I can undo this hack and make it a pure-visual Blockly program.
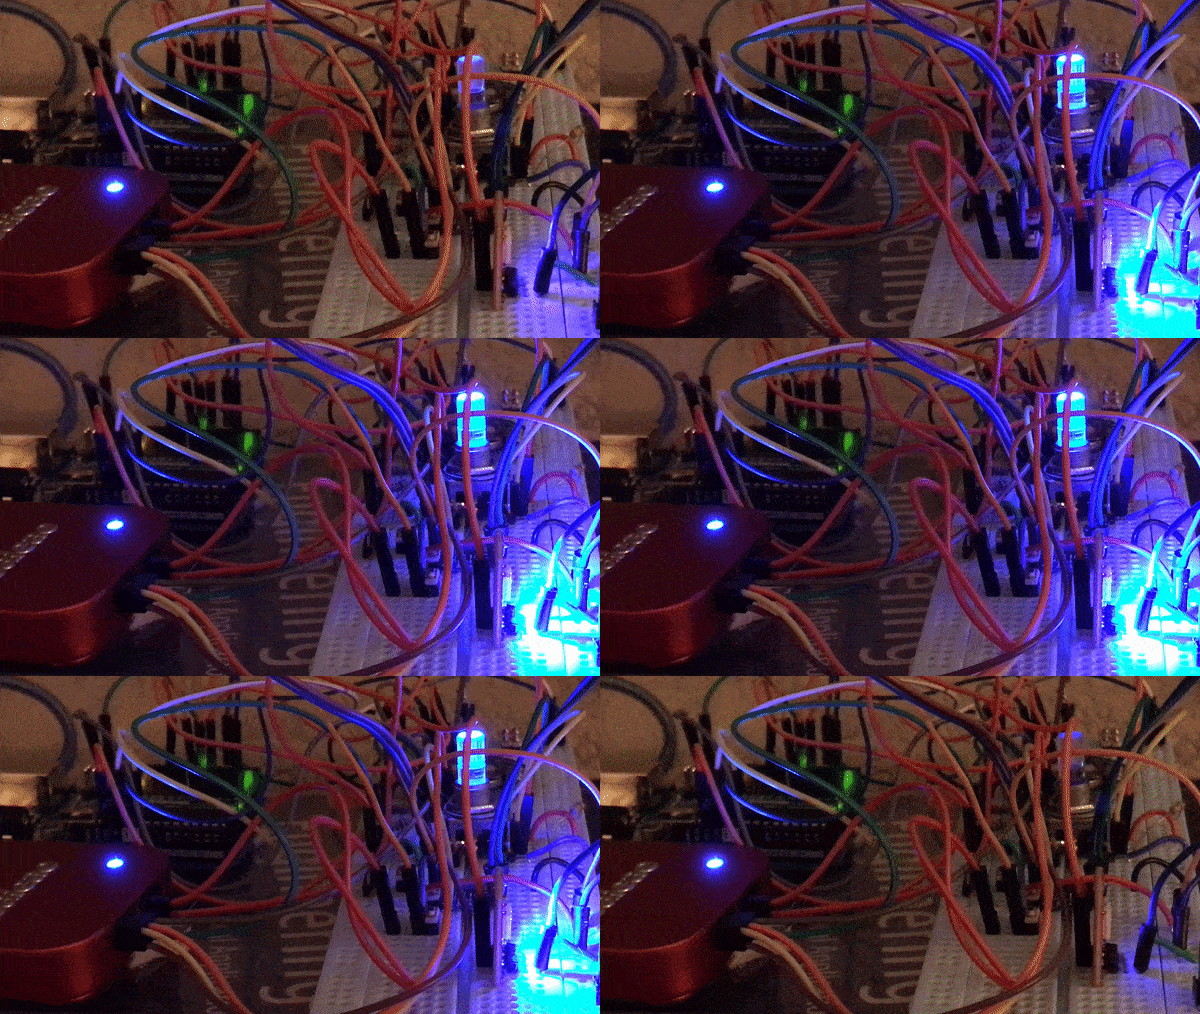
The office I work in has no windows which was driving me a little bit mad so I decided to build something to increase my sanity. I had a spare BeagleBone Black and a Fadecandy I was itching to try so all I needed was some LEDs. I ordered a bunch of 8x8 NeoPixel matrices from AdaFruit, added a spot of solder, a slathering of python, and one 20A 5V power-supply. The Internet Skylight is the result.
An iteration on the first hand-built prototype of a Halloween decoration, this revision realizes the power profile needed to make it practical. Using the EFM32 Zero Gecko from Silicon Labs I was able to run the BoD for several weeks on a single CR2032 (the ATTiny version only lasted a few days on the same battery).
A small but loud little speaker for use with the SparkFun moto:bit.
A very simple build has turned into one of the most used things I’ve made for my family. This little toy has become my son’s night light which he turns on, adjusts, and goes to sleep with every night.
The idea came to me when I was browsing Adafruit and I came across the NeoPixel wing. After building the Minty Punk Console I discovered my son really likes twiddling knobs so I decided to build a night-light for him with a twist: instead of the traditional R, G, and B levels most multi-colour lights would expose as controls I gave him Hue, Saturation, and Value knobs. I thought it would be interesting for him to grow up with an intuitive knowledge of this less common colour system.
The night light is made out of four things all stacked on top of each other:
1. The Adafruit u32 Feather
2. A proto wing with three Bourns 10K pots featuring beautiful Kilo knobs.
3. The Neo Pixel feather wing.
4. A block of acrylic sanded to diffuse light.
You can see the rough Arduino code I whipped up on GitHub.
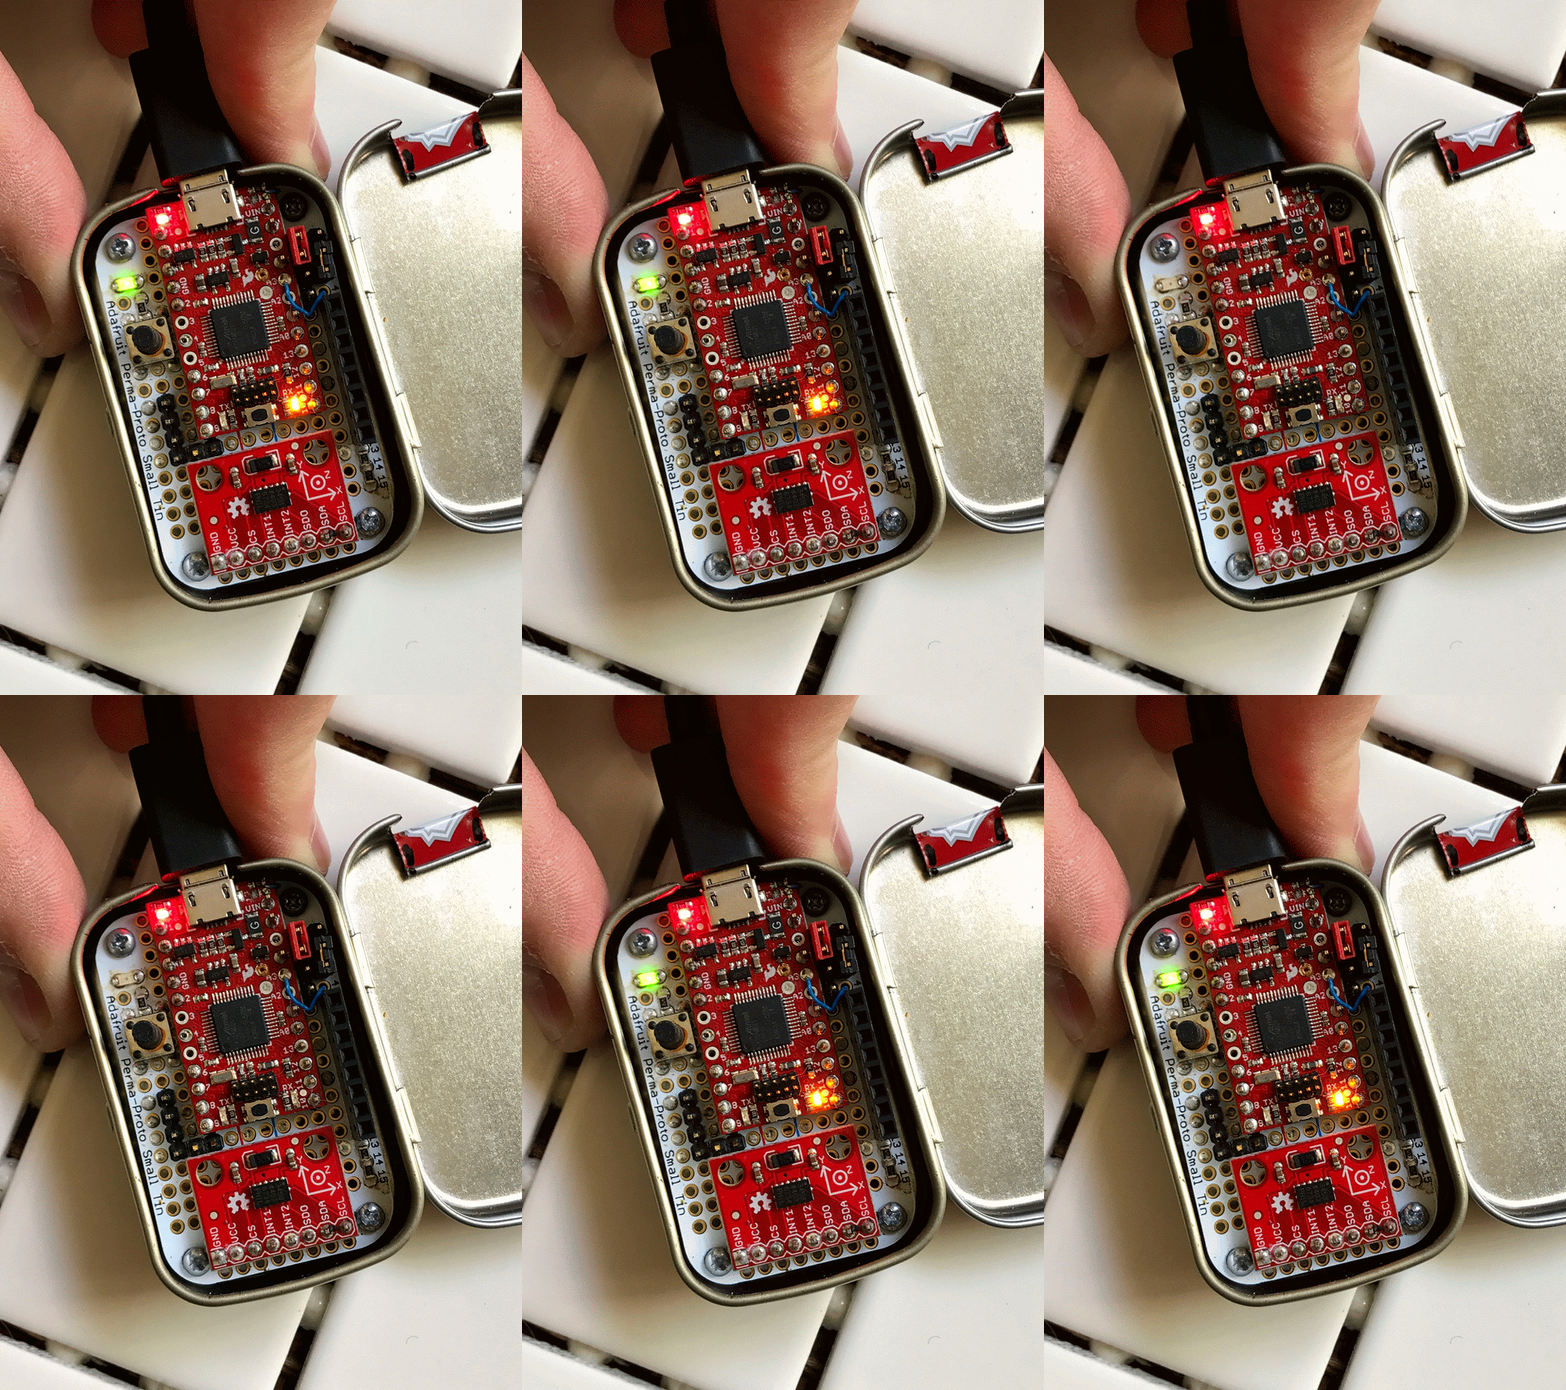
I was using Yakindu Statecharts at work and decided to run a workshop introducing other engineers to the tool. To get people more excited about building statecharts I designed a little maker project as homework to use as the target platform for the workshop. It's built around the D21 mini breakout from SparkFun and an IMU breakout. We built a statechart that, when armed, would flash the LEDs in an angry pattern if disturbed. Pretty useless but it was designed to exercise specific statechart features. It also ended being a Jenga-like game (e.g. can you take a pencil out from under the board without setting off the alarm?).
This is the third launcher I’ve built for my son’s annual Boy Scout rocket launch (see the first one here and I’ll post the second one sometime later) and by far the most successful. It was easy to build and Microsoft Makecode allows the kids to program it themselves.
For one christmas I built my kids nightlights. My son’s was the HSV (featured on this page as well). For my daughter I built a multi coloured star lantern. To start I bought a white paper star lantern from a local store and added an Adafruit ESP32 Feather and two NeoPixel rings. The plastic framework inside comes with the lantern so I simply adapted it to hold the two RGB LED rings and put some little mirror balls in the middle to enhance the sparkle. To control it I used Blynk which works great since I can share the control app with my daughter who has it on her phone.
I worked with 107-systems to re-design the head of their Hex-pod robot for the 2023 ELROB competition, the l3xz. See the pan-tilt head github repo for full schematics.
Enclosure for Raspberry Pi running Octopi