

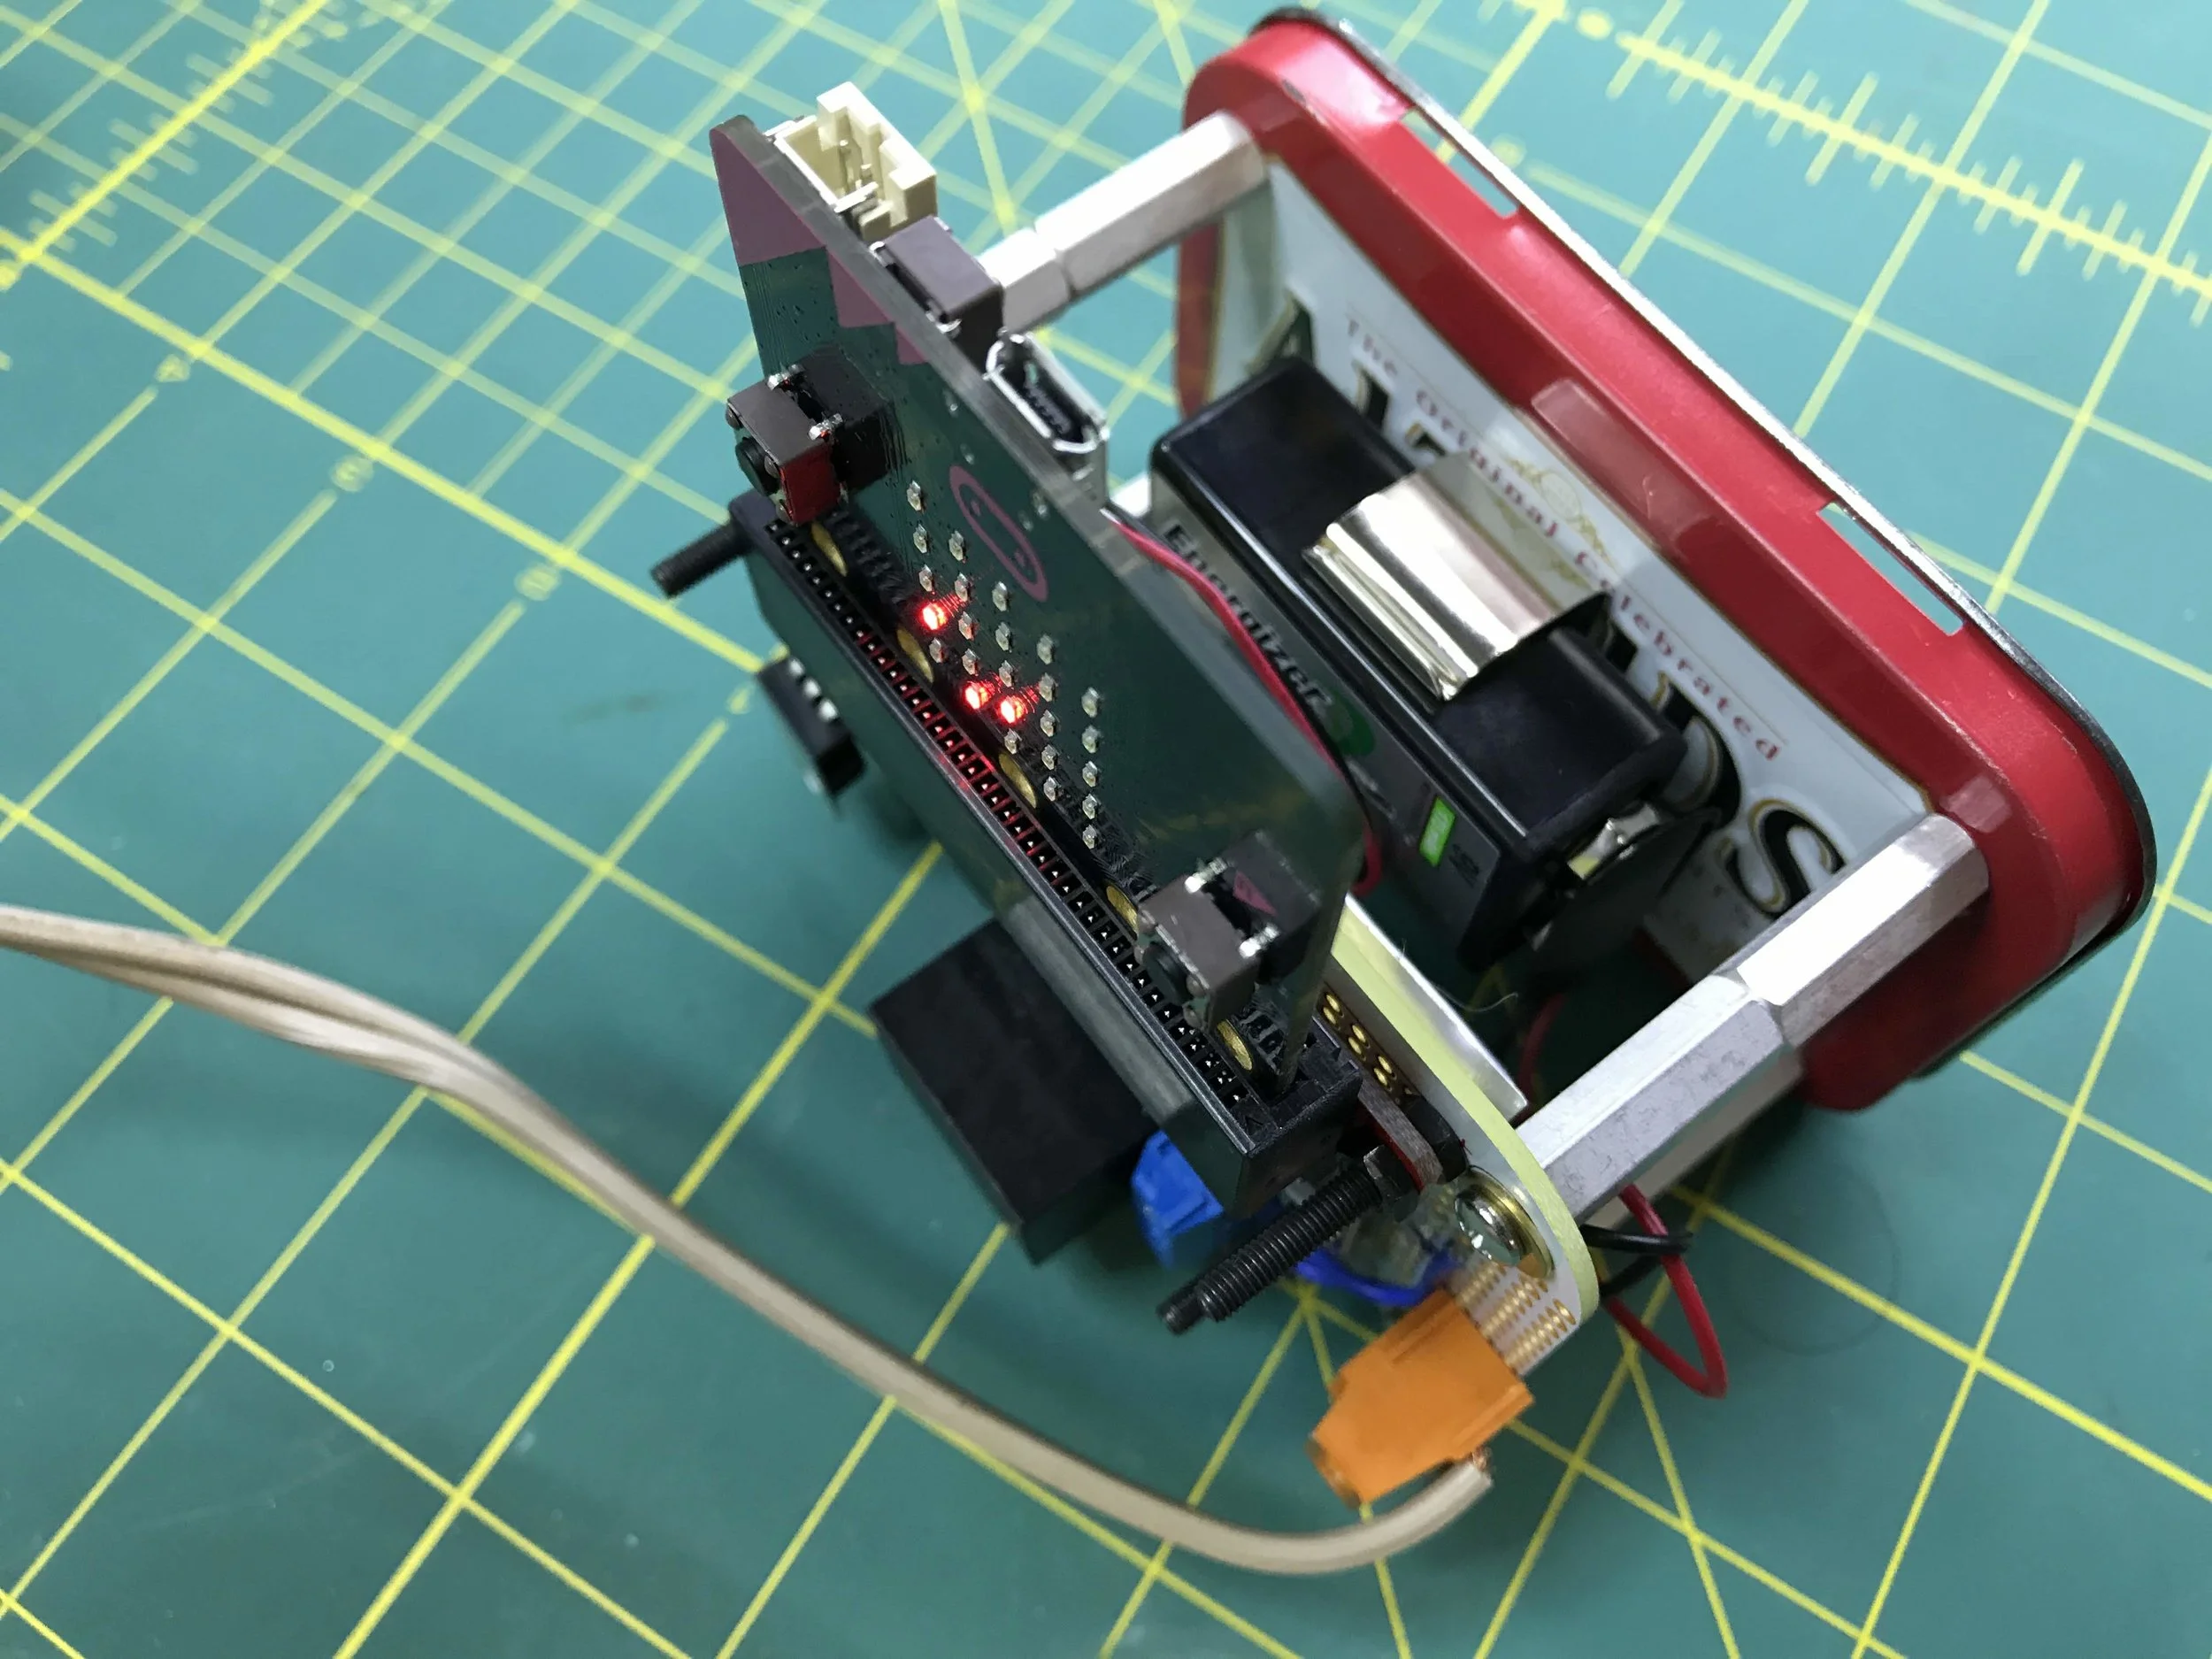
I slapped this project together on a Sunday afternoon with parts I had on hand for my son’s annual Boy Scout rocket launch meeting. I’m using the Microbit’s radio function to allow one bit to send a launch command to another which then uses the I2C function to close a SparkFun Qwiic relay shorting the 9V line and lighting the engine. This all worked surprisingly well and the only problem I had was that the Microbit cannot tolerate the 3.7v provided by the single cell lipo batteries I was using. I added a 3.3V LDO and a Schottky diode for good measure and called it good.
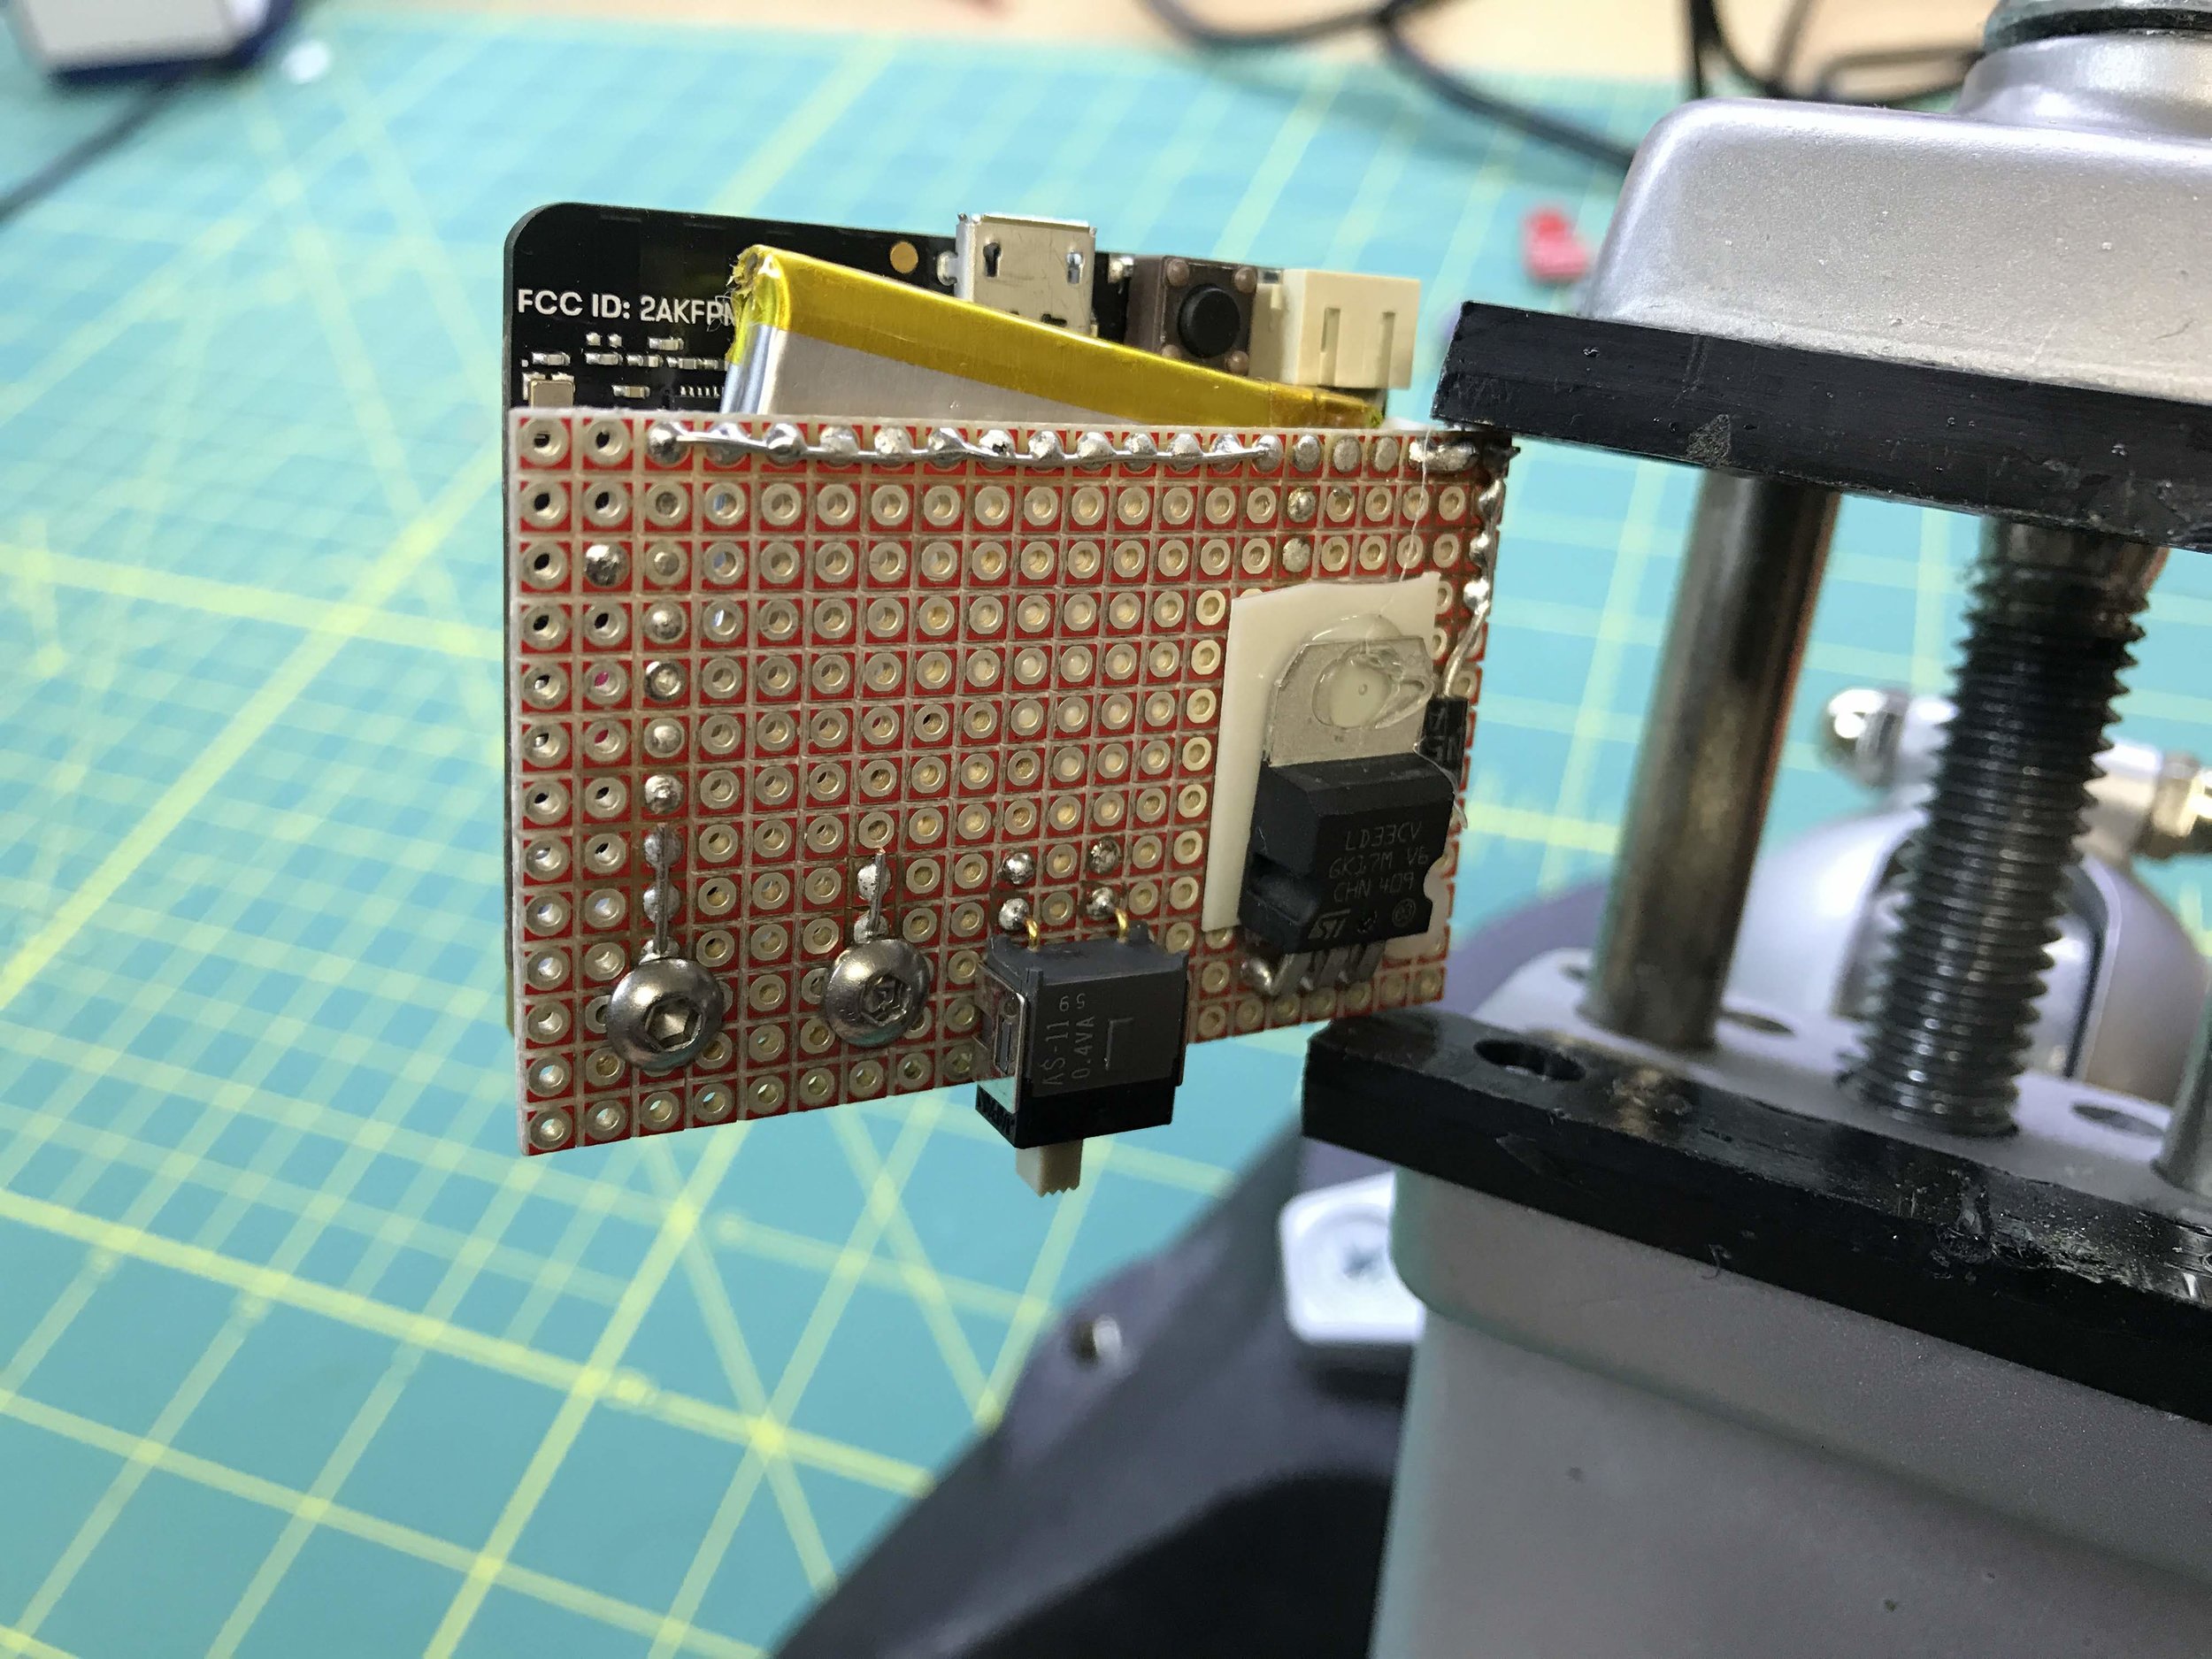

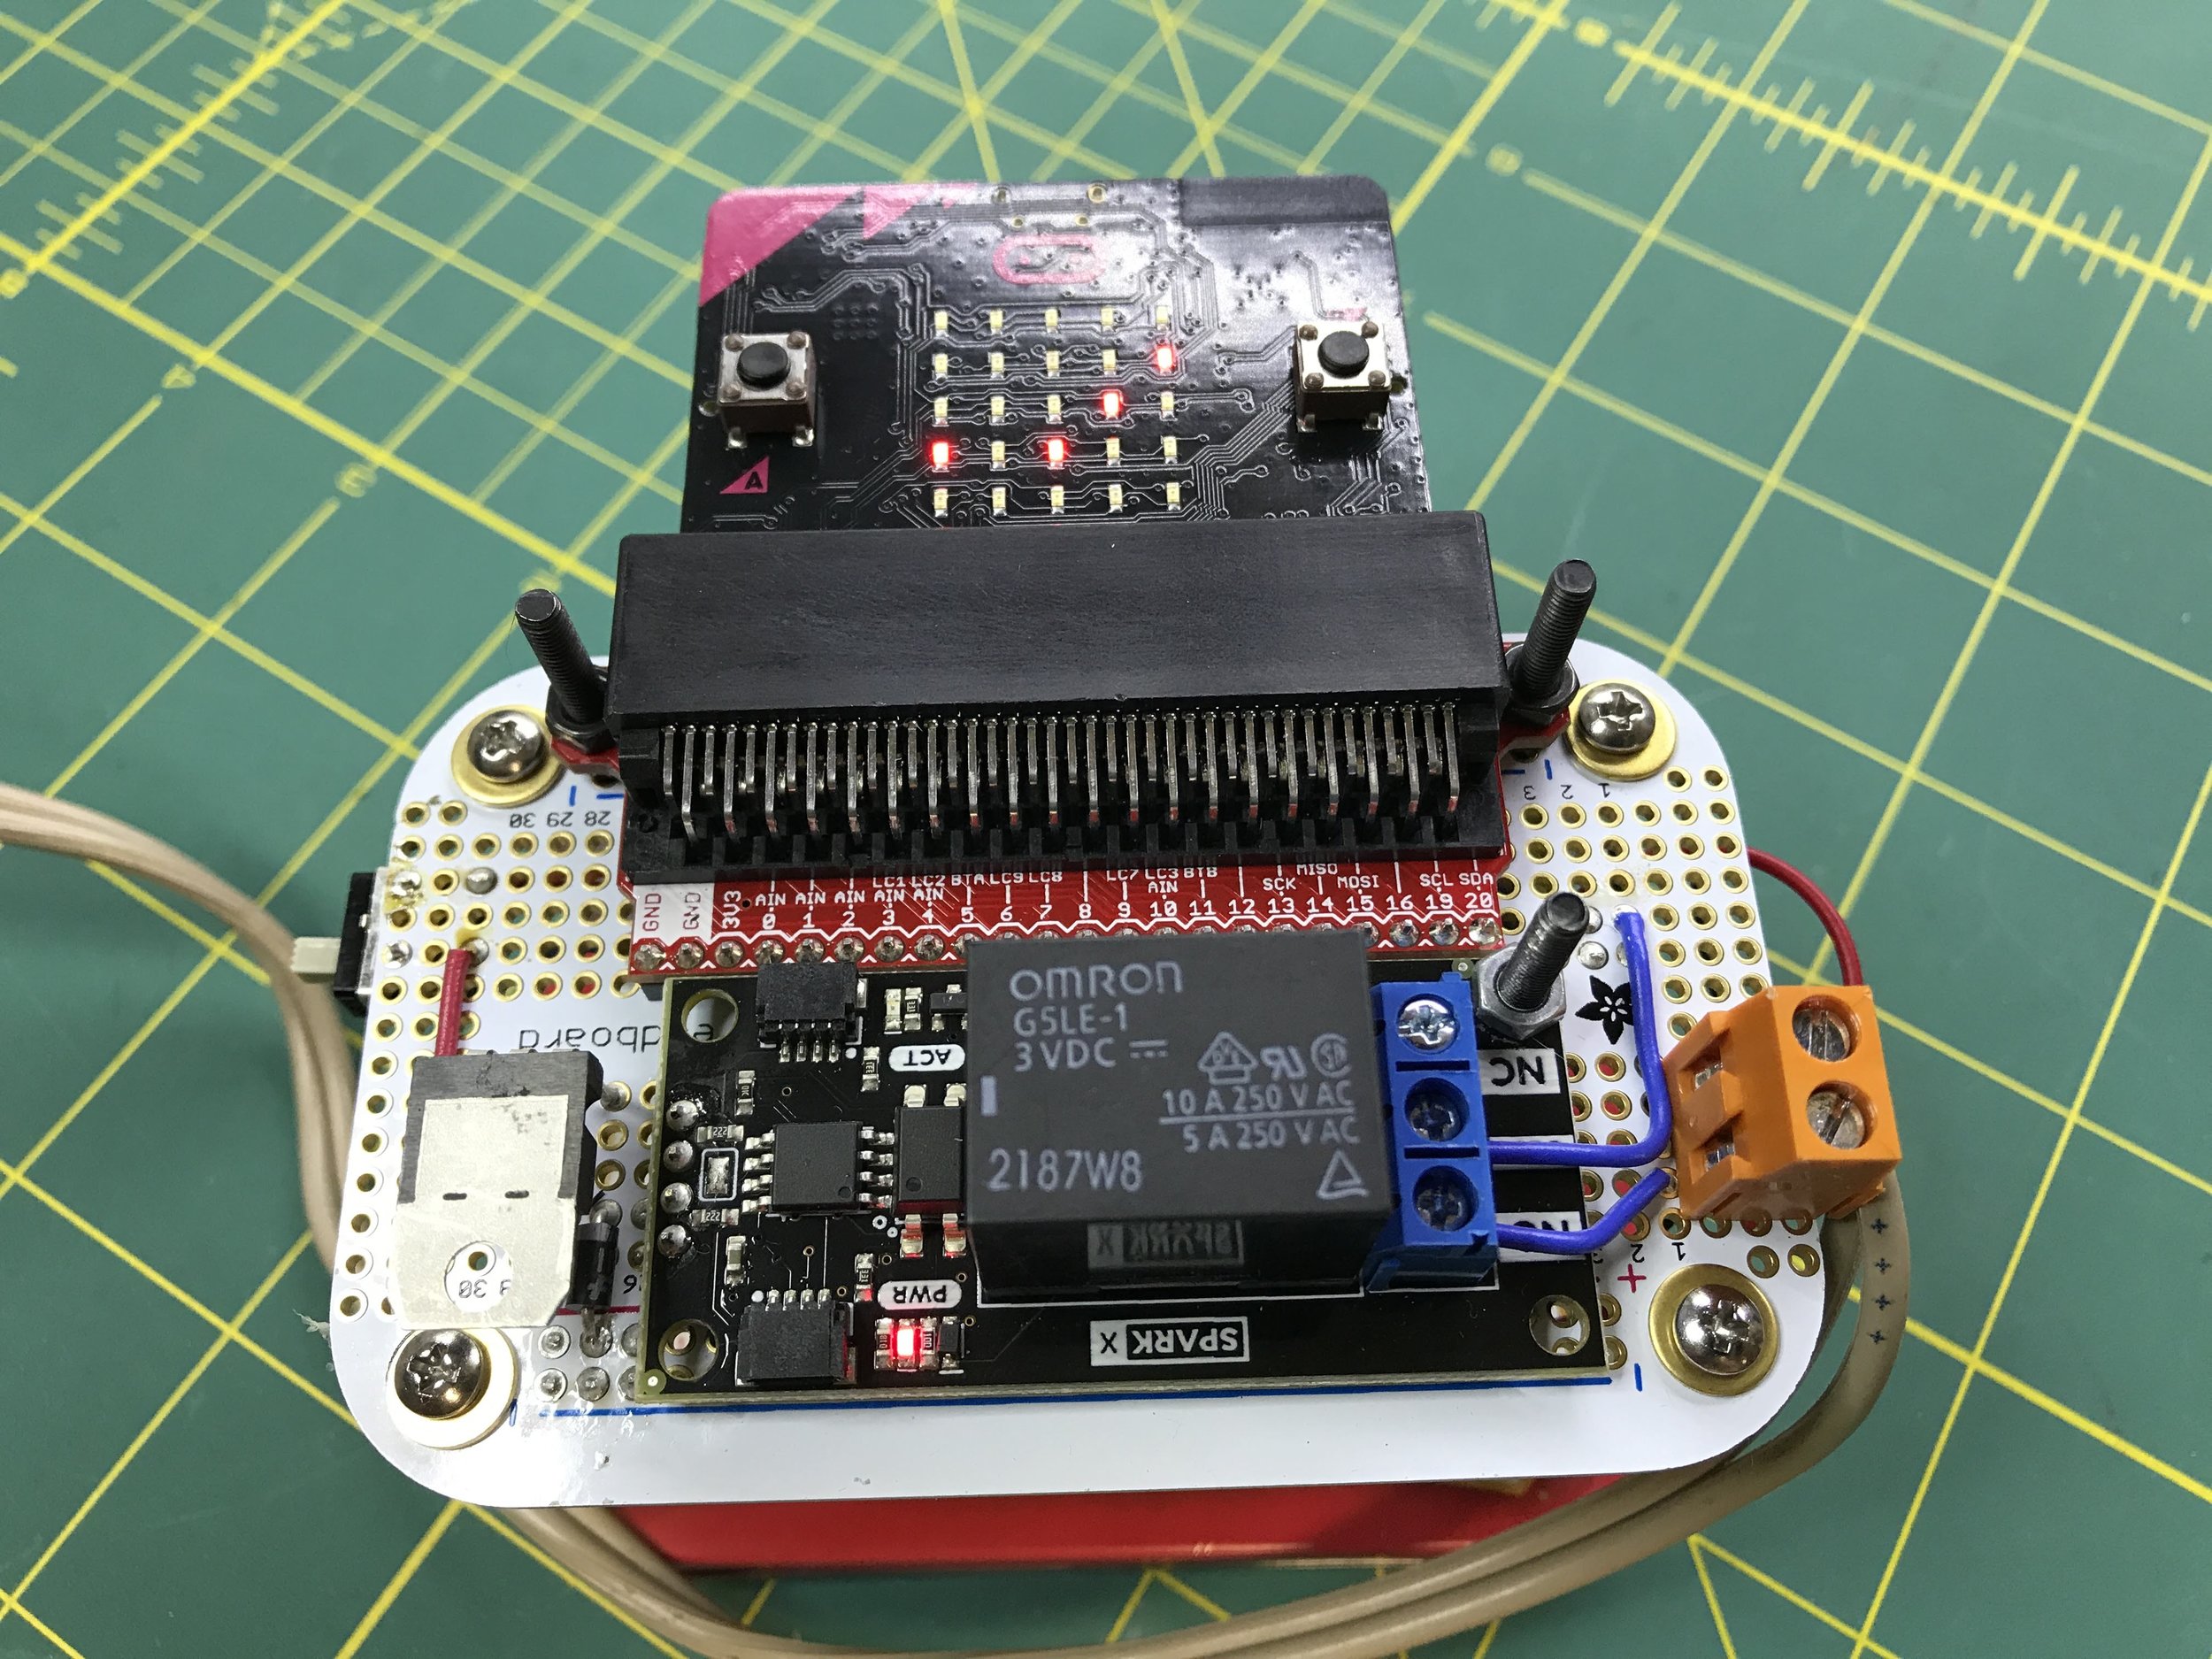
I love that I can power the Microbit over the structural bolts here. Yes, the smaller pads on either side of the larger 3V and GND pads are 3V and GND respectively. They really thought it all out when they designed these little boards. I’m very impressed.

radio.onReceivedValue(function (name, value) {
    if (name == "command") {
        if (value == 1) {
            launch()
            basic.showIcon(IconNames.No)
        } else {
            safe()
            basic.showIcon(IconNames.Yes)
        }
    } else if (name == "response") {
        is_connected = true
        if (value == 1) {
            basic.showIcon(IconNames.No)
        } else {
            basic.showIcon(IconNames.Yes)
        }
    }
})
function safe() {
    pins.i2cWriteNumber(
        24,
        0,
        NumberFormat.Int8LE,
        false
    )
    radio.sendValue("response", 0)
}
function launch() {
    pins.i2cWriteNumber(
        24,
        1,
        NumberFormat.Int8LE,
        false
    )
    radio.sendValue("response", 1)
}
let did_send_launch = false
let button_press = 0
let count_down = 0
let is_connected = false
radio.setGroup(169)
radio.setTransmitPower(7)
safe()
basic.forever(function () {
    if (!(is_connected)) {
        safe()
        radio.sendValue("command", 0)
        basic.showString("?")
    } else {
        // Running connected logic
        if (!(input.buttonIsPressed(Button.AB))) {
            did_send_launch = false
            if (count_down == 1) {
                radio.sendValue("command", 0)
                basic.showIcon(IconNames.Pitchfork)
                count_down = 0
            }
        } else if (count_down == 0) {
            button_press = input.runningTime()
            count_down = 1
        } else if (input.runningTime() - button_press > 3000) {
            if (!(did_send_launch)) {
                radio.sendValue("command", 1)
                basic.showIcon(IconNames.Pitchfork)
                did_send_launch = true
            }
        } else {
            led.plotBarGraph(
                input.runningTime() - button_press,
                3000
            )
        }
    }
})
The Microsoft makecode program is trivial. The one thing I'd recommend, if you want to replicate this project, is to make a unified firmware so you don't have to remember which bit is the transmitter and which is the reciver. You'll see in the JavaScript below that the state machine is valid for either role.
In the simulation below, hold either device’s A+B button until the bar-graph fills up...